Friday, November 9, 2012

100 Day Hustle - Halfway point check in


Somehow, I can't quite believe this is half over. I am double checking dates, but I'm pretty sure the calendar and the rest of the blogosphere are right, and it's me who's deluded on this one. Doesn't help that I kept meaning to do little updates and running out of time...

To be honest, I'm not doing as well on this as I'd like. This is possibly related to the quilters ADHD which has me flitting from one project to the next. I need to get some follow through happening, because I've been working hard but don't seem to be ticking anything off.

Anyway, to the list....
1. Keep sewing space tidy - it's not too bad, but probably a fail overall. Oops! I really need some serious time to organise and cull.
2. No new fabric bought - Epic fail on not buying craft supplies lately. Check back on Sunday for my Sunday Stash, which is full of quilty and scrapbooky goodness.
3. No new projects - I did some little ornaments for the Sew Seasonal blog hop, but I haven't started any quilts that weren't on my list. Good thing too, since I have too many in progress.
 4. Finish fabric storage boxes - no progress.
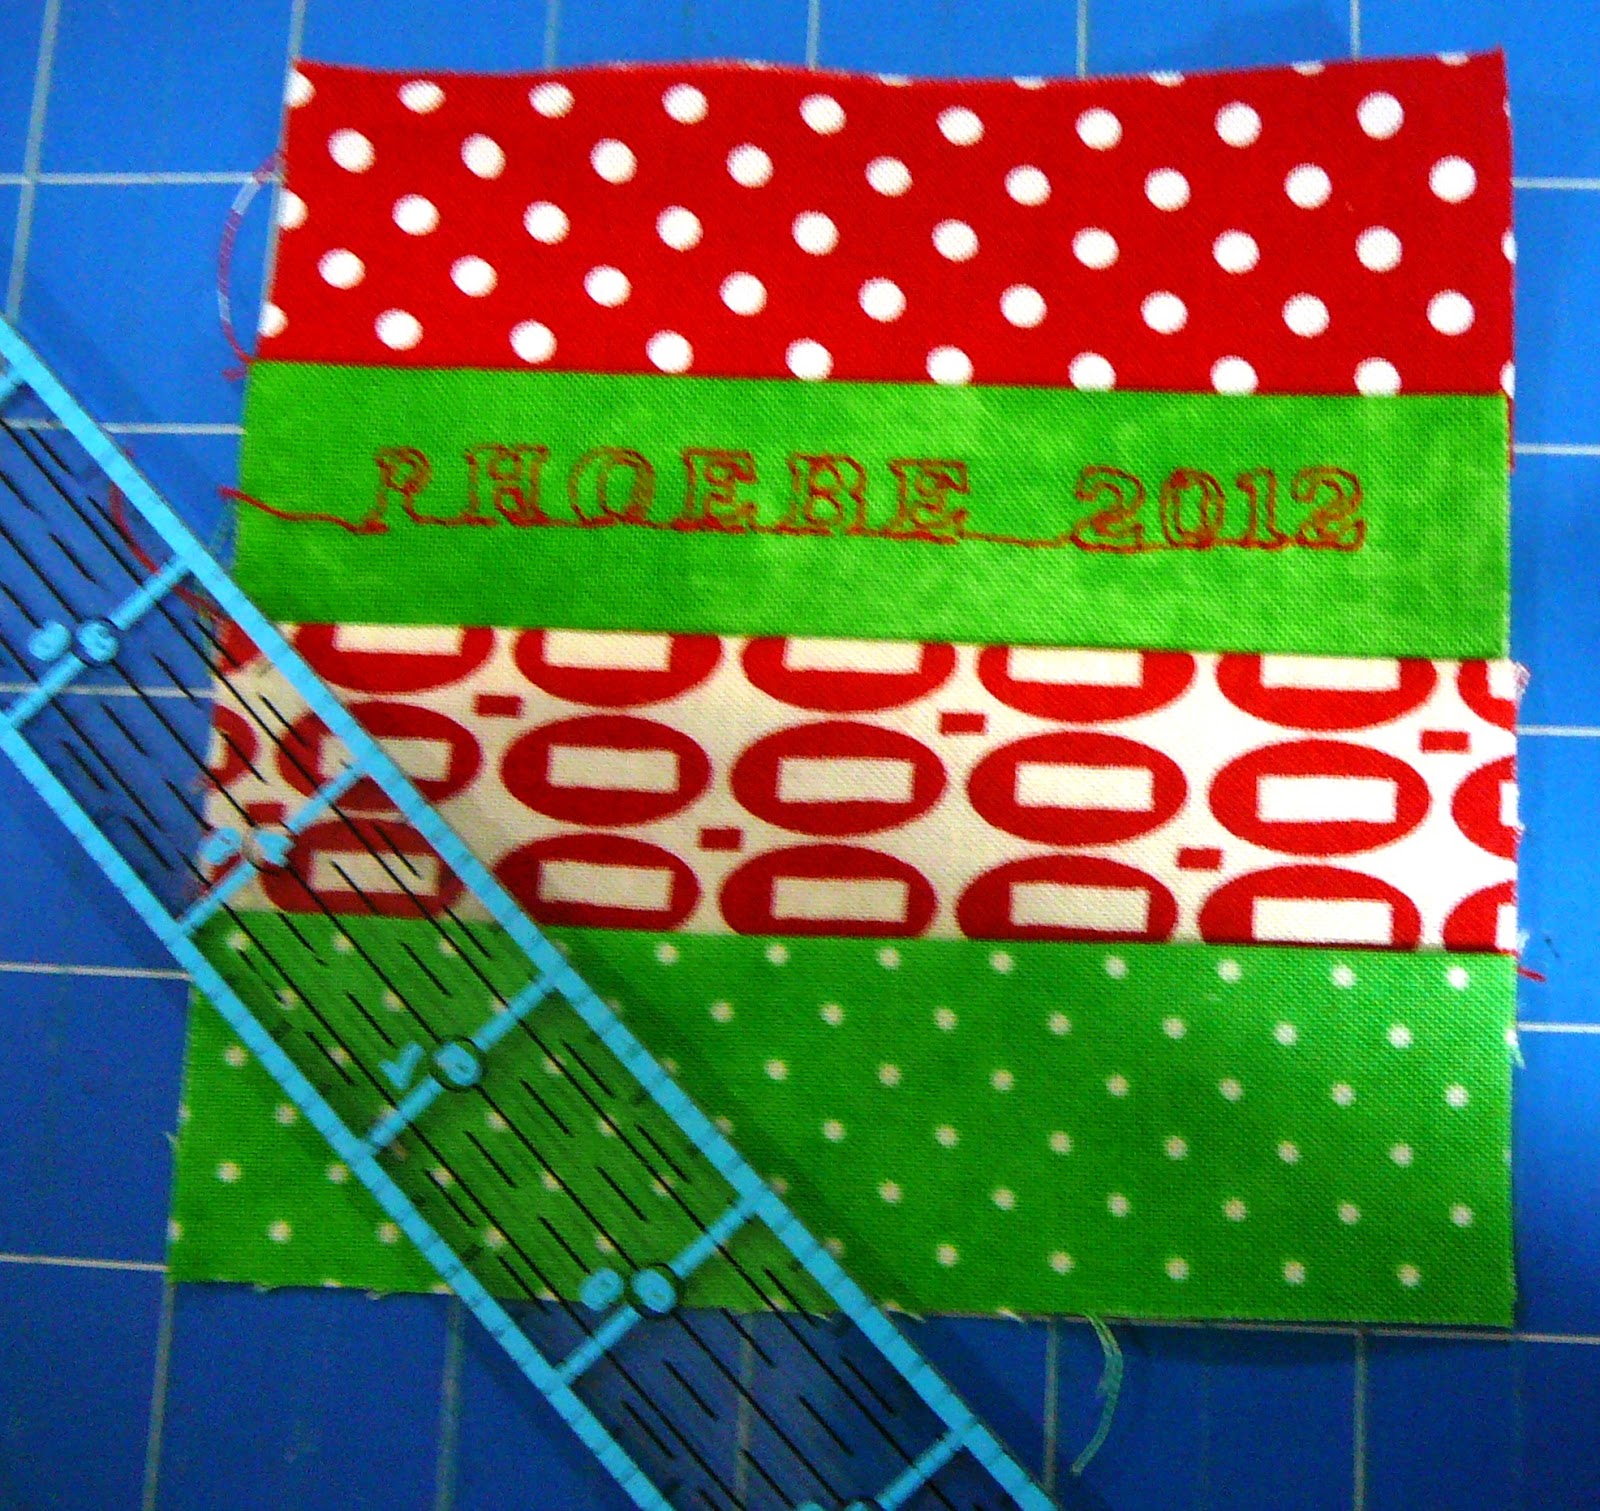
5. Finish Phoebe's bed quilt - no progress, but I am getting nagged. I need to find my notes and get on with this.
6. Finish piecing at least 5 current tops - I finished my Polaroid Rainbows top this week, which brings total for this to two, I'm also piecing this chevron top and my paper pieced Harry Potter. But I keep flitting from one thing to another....


7. Finish quilting and binding at least 5 tops - I have quilted the Polaroid Rainbows, just need to bind it. And I've still got this one in progress too - just need to put it back on the machine.
8. Empty mending/refashioning basket - ha ha. You're joking, right?
9. Keep on top of swap blocks and BOMs. Progress made, though I have three more blocks I could be doing that I need to make priority.
10. Finish smaller craft projects. No progress.

Work and life are very busy over the next few weeks, so I don't know how much time that'll leave for sewing. Hopefully I'll be able to get a bit done here and there and get through my epic WIP list.

Though I think 2013 will still be the Year of the WIP!
Linking up to Kelsey's half way point check-in.


Wednesday, November 7, 2012

WIP Wednesday - Polaroid Rainbows


I was part of Kristy from Quiet Play's Say Cheese Polaroid Block Swap, and while she's just sorting most of the polaroids now, I was lucky enough to get mine a few days early because we are in the same real life quilt group together, so she brought my swaps to the meeting.


Can I just say first that I Spy prints are waaaaaay cuter than they ever used to be. Just looking at these cute little fussy cut morsels had me giddy with delight!When I cut my 50 squares for the swap I cut myself an extra set and then crossed my fingers I wouldn't get any doubles back, with a plan to having 64 blocks to work with in an 8x8 layout. I also decided I was going to rainbow strip my background, and while I have a zillion other things I could be working on, I couldn't help but start playing with these cuties right away.

And I am so, so in love with the results (which are looking a little fuzzy here, but I took a zillion shots and none of them were completely in focus. Waaah!).

Check out some up close polaroid goodness:


We used this tutorial to construct the polaroids, and when I got them back I just trimmed up the sides. I was totally lazy and didn't even measure them to make sure they're all the same because I knew I was going to frame them again and precisely cut that block. 

But just in case you need some tips on wonky framing, here's a mini-tutorial. 

You will need about 18 inches of 1 to 1 1/2 inch wide sashing to border each block. This is a great opportunity to use up little scraps you've had around for ages. While I used solids, I totally think this would work in tone on tones or blender prints - think background paper for a scrapbook page if you will. 


So take your 1inch (rough cut) strips and chain piece them to either side of your blocks. I like to chain piece as much as possible, chain piecing is your friend! It doesn't matter if you go top and bottom or left and right here. I actually did half each way for easier piecing down the track. Cut them apart and press open.


Trim your sashings to the edge of the white. Now chain piece the other two sides and press.


I have just got myself a 4 1/2 inch ruler and it is soooo handy, and perfect for this job. If you don't have a square, then you can cut a template for one, but this is a great investment. They're also useful for squaring up components of larger blocks.

Say hi to my cute little foxy friend, whack your ruler on top in whatever wonky shape your heart desires, and trim. Tip: If you do this standing up you're more likely to be able to do all four sides with your dominant hand and no tricky block turning.


Now pair up your squared up blocks. Make sure the wider polaroid piece is at the bottom. This is where the alternating directions of sewing on the sashing comes into play - if you did this then you'll find you have four vertical strips that are all one piece which will go through the bottom layer of your machine easier. Totally not compulsory, but it does make a wee bit easier.

Chain piece your row together.


 Then stitch your finished row to the rest of the quilt. And of course you can totally leave that to the very end and sew all the strips together at once, but that's my least favourite part, so I prefer to do it as I go.

Now, in exchange for that maybe useful tutorial, I need YOUR help. I have basted and we are ready to quilt. But I have NO idea how to quilt it! Any suggestions would be much appreciated!


I'm linking up with WIP Wednesday over at Freshly Pieced.


Friday, November 2, 2012

Sew Seasonal Blog Hop - Ornamental Ornaments

Sew Seasonal Blog Hop

Welcome Sew Seasonal blog hoppers to my little home on the blogosphere! Thanks for dropping in, feel free to hang out a while.

One of my must-do Christmas traditions is new ornaments for my children each year. They have their own little boxes of ornaments and I just love watching those boxes fill up over the years.

So when I saw Alyce's very cute Ornamental pattern, I decided to turn my block into personalised ornaments for my children.


Working with block two, here's a mini-tutorial to turn any of these blocks into ornaments. Note that this would make a great chain piecing project if you wanted to cut your 1 1/2 inch strips from the width of fabric and whip up a whole bunch of these cuties.

Materials - for 5 inch pattern:
As per pattern:
2 - 4.5in x 1.5in strips of red fabric (I used two different prints)
2 - 4.5in x 1.5in strips of green fabric (I used two different prints
(Note: you will not be using the white background fabrics)
Also:
6in square backing fabric
6in square scrap of thin binding or pellon
6 inches of narrow red or green ribbon
red or green sewing threads
red or green embroidery floss (if hand sewing)

Start by embroidering your name and the year onto one of the colored strips in a contrasting thread. I used a marbled almost solid for this strip so it showed up well. Regular readers will know I just discovered the alphabet function on my machine, so I machine embroidered it. You can get the name on any way you want - hand embroidery, fabric marker, whatever floats your boat.

Chain piece the red and green pieces into pairs, then pair them up so you have a square of red-green-red-green.

Trim the corners by lining up your ruler at a 45 degree angle and cutting them off (at the bottom of the ruler). Note that I cut my first one slightly further in than this diagram and I prefer the more angled result, it was also easier to get the sharper points. Again, do what works for you.

Cut your batting and backing just a bit bigger than your ornament fronts. (About 6 inches).


Layer your batting, then backing right side up, then ornament front right side down. Stitch through all three layers with a 1/4 inch seam, leaving the top open for turning and ribbon insertion.

Trim the backing and batting back to the ornament top, then turn right side out and press.

Insert the ribbon, pin to hold it in place, and top stitch about 1/8 inch around the entire block. Quilt across the strips, I used decorative stitches for this.

Wait until you're allowed to put up the tree and hang your ornaments!

Thanks for checking in. Paper piecing fans, don't forget to visit my blog hopping buddy Marieka of Bespoke Bites today, where she has a delightful little card using a paper pieced blog.

And have yourself a merry little Christmas (to paraphrase my most favoritest Christmas song ever!).